We want you to be more comfortable than you thought possible while you are here. We will see you on time, listen carefully to your concerns, and take care of your needs quickly, effectively, and beautifully. We will send you home with the knowledge, tools, and techniques to keep your smile healthy for a lifetime.
We want you to be more comfortable than you thought possible while you are here. We will see you on time, listen carefully to your concerns, and take care of your needs quickly, effectively, and beautifully. We will send you home with the knowledge, tools, and techniques to keep your smile healthy for a lifetime.
HI TECH SOLUTIONS
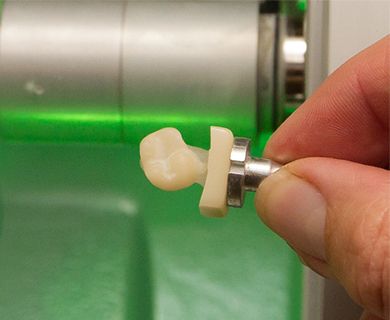
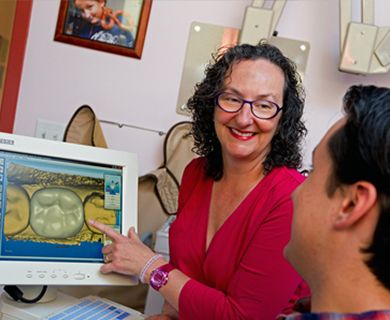
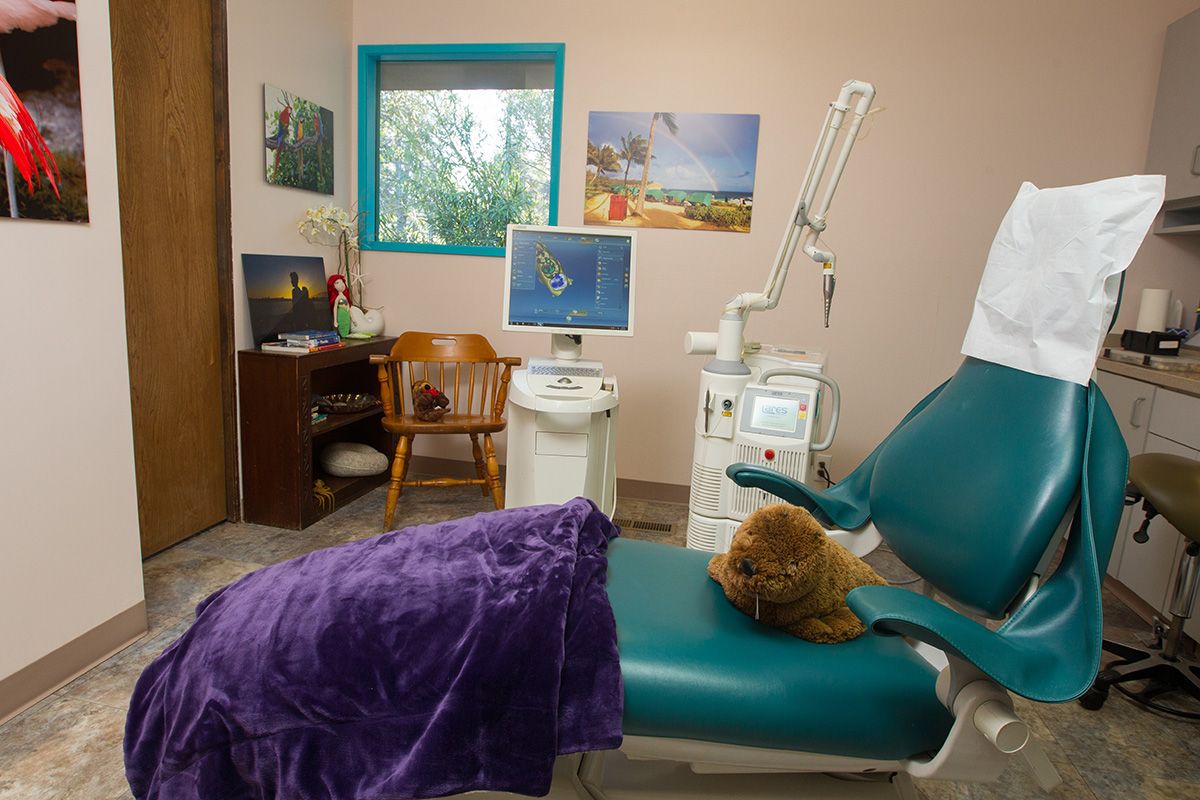
We have fancy tools like CEREC one-visit crowns, Lasers for shot-free fillings, and TScan to make your teeth fit just right, but our best tool might surprise you.